It's Spring Break for college kids all over the country. And although the better majority of my friends are living it up on a variety of different beaches, I'm at home in Boone County, soaking up every minute of this country life I love and miss so much. One thing I love about my life at home is the kitchen I've grown up in. And what I love more is being able to utilize every bit of it, and even more, bringing it to all of you.
Being cramped up in a small college apartment doesn't leave much of an ability to let my inner kitchen diva out, so I go hog-wild when I'm at home. Now that I have a full week, I have big plans. Throughout the week, I'm going to be baking and cooking up a storm, and sharing it with you! I've done a
food blog before, but I'm consolidating all of my blogging into one place now, so this will be my first food blog post of the site!
That's a mouthful, but a very delicious one.
This is one of the easiest cake recipes ever. I did a
cupcake variation this summer on my original food blog, but this regular cake version was awesome too.
Ingredients:
-1 box Duncan Hines Devil's Food Cake
-1 box instant chocolate pudding
-1 cup sour cream
-1 cup vegetable oil
-4 eggs
-2 tsp. vanilla extract
-Miniature Reese's cups
-1 cup peanut butter
-1 1/2 cups butter, softened
-2 Tbsp. vanilla extract
-2 lbs (or one big bag) powdered sugar
-3-4 Tbsp. milk, depending on icing thickness
Did I mention this cake was super easy? To make the cake itself, I just had to mix all of the cake ingredients (cake mix, pudding, sour cream, oil, eggs, and vanilla) in a mixer, and the batter was complete. That simple.
I baked my cake as 2-9" cakes. It can also be baked in cupcake form, as a bundt cake, a regular 13x9, or however else you would like to enjoy the deliciousness. Since I did two cakes, the next step was to divide it in half between the pans. I then placed mini Reese's randomly in the batter.
Next was the baking at 350 degrees. Time will depend on how you're baking it. For my two cakes, it took about 29 minutes. Cupcakes won't take as long, a bundt cake will take longer. Just watch how your cakes bake and if all else fails, use the toothpick trick to check that they're done. I let the cakes cool for about 10 minutes in the pan, and then flipped to cool. One of my cakes broke. Such is life. I'm a pro at cake surgery.
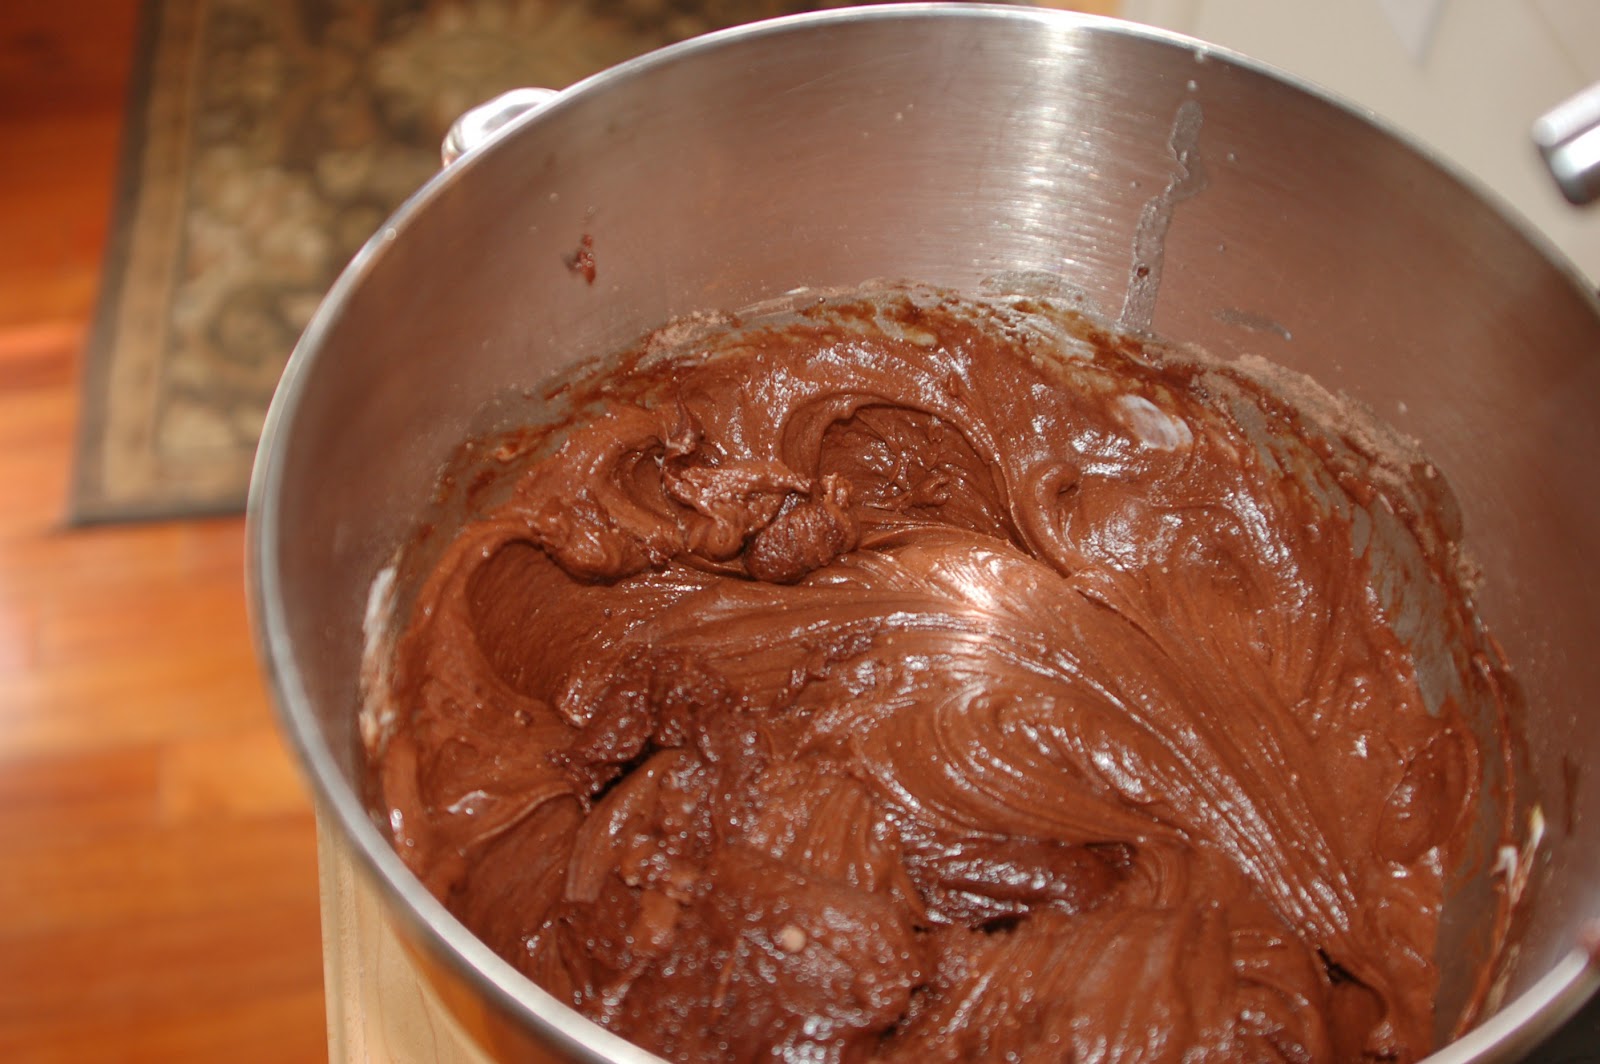
While the cakes were baking, I made the icing. It's a pretty simple task as well.
First, I just creamed together the butter and peanut butter.
Next, I just slowly added the powdered sugar. It took awhile to thicken up because of the consistency of the butter and peanut butter, but eventually it got pretty thick. That's where the milk comes in. I only added a little at a time so that it wouldn't get too thin. I like thick icing, but if you don't, make it thinner. Totally up to you!
Once the cake was completely cool, it was time to ice. Not my strong suit, but I don't think anyone who ate it really cared about how it looked. I added some of the little tiny Reese's on top to make up for my icing failure.
I don't want to sound cocky, but I think those who ate it enjoyed it. I'd say it went over pretty well.
Sure, a beach would be nice right about now. But there is no better therapy for me than being in the kitchen. So I'm not going to complain that that's what my spring break will consist of.
Up next...homemade banana cream pie. It's good to be home.