Background

Showing posts with label Recipes. Show all posts

Friday, February 7, 2014

Moscato Cupcakes

What is better than a cupcake? Moscato wine. What's better than Moscato wine? Moscato wine in a cupcake. So let's just start there.

I made these for a friend of mine's birthday because I thought it would be more than perfect for her. All of my other food posts on here have been created at my house, but I had to make these at my campus apartment. That being said, bear with me on the college-kid tiny kitchen.

This is going to be a new favorite of mine, I can already tell. Honestly, it comes out tasting like a vanilla cupcake because there isn't enough wine incorporated to change the flavor that much. But it's a pretty darn good vanilla cupcake. There's a slight kick to it that separates it from your run of the mill white cake, and it's delicious. 

So turn on some Steve Earle or Patsy Cline (or both if you're like me) and let's begin. 


So those are your ingredients. Pretty run of the mill for a cake recipe. Except the vinegar. I'm still a little bothered that I used vinegar in a cake but whatever, it's over. I'm sure I'll make it through the PTSD eventually.

First step...combine all of your dry ingredients- flour, sugar, baking soda, and salt.


In a separate bowl, combine the wet ingredients- oil, wine, buttermilk, eggs, and....vinegar. 


Once combined, slowly add the wet ingredients to the dry. Mix only until the batter is combined and then stop, don't over mix or the batter will become too dense and heavy.


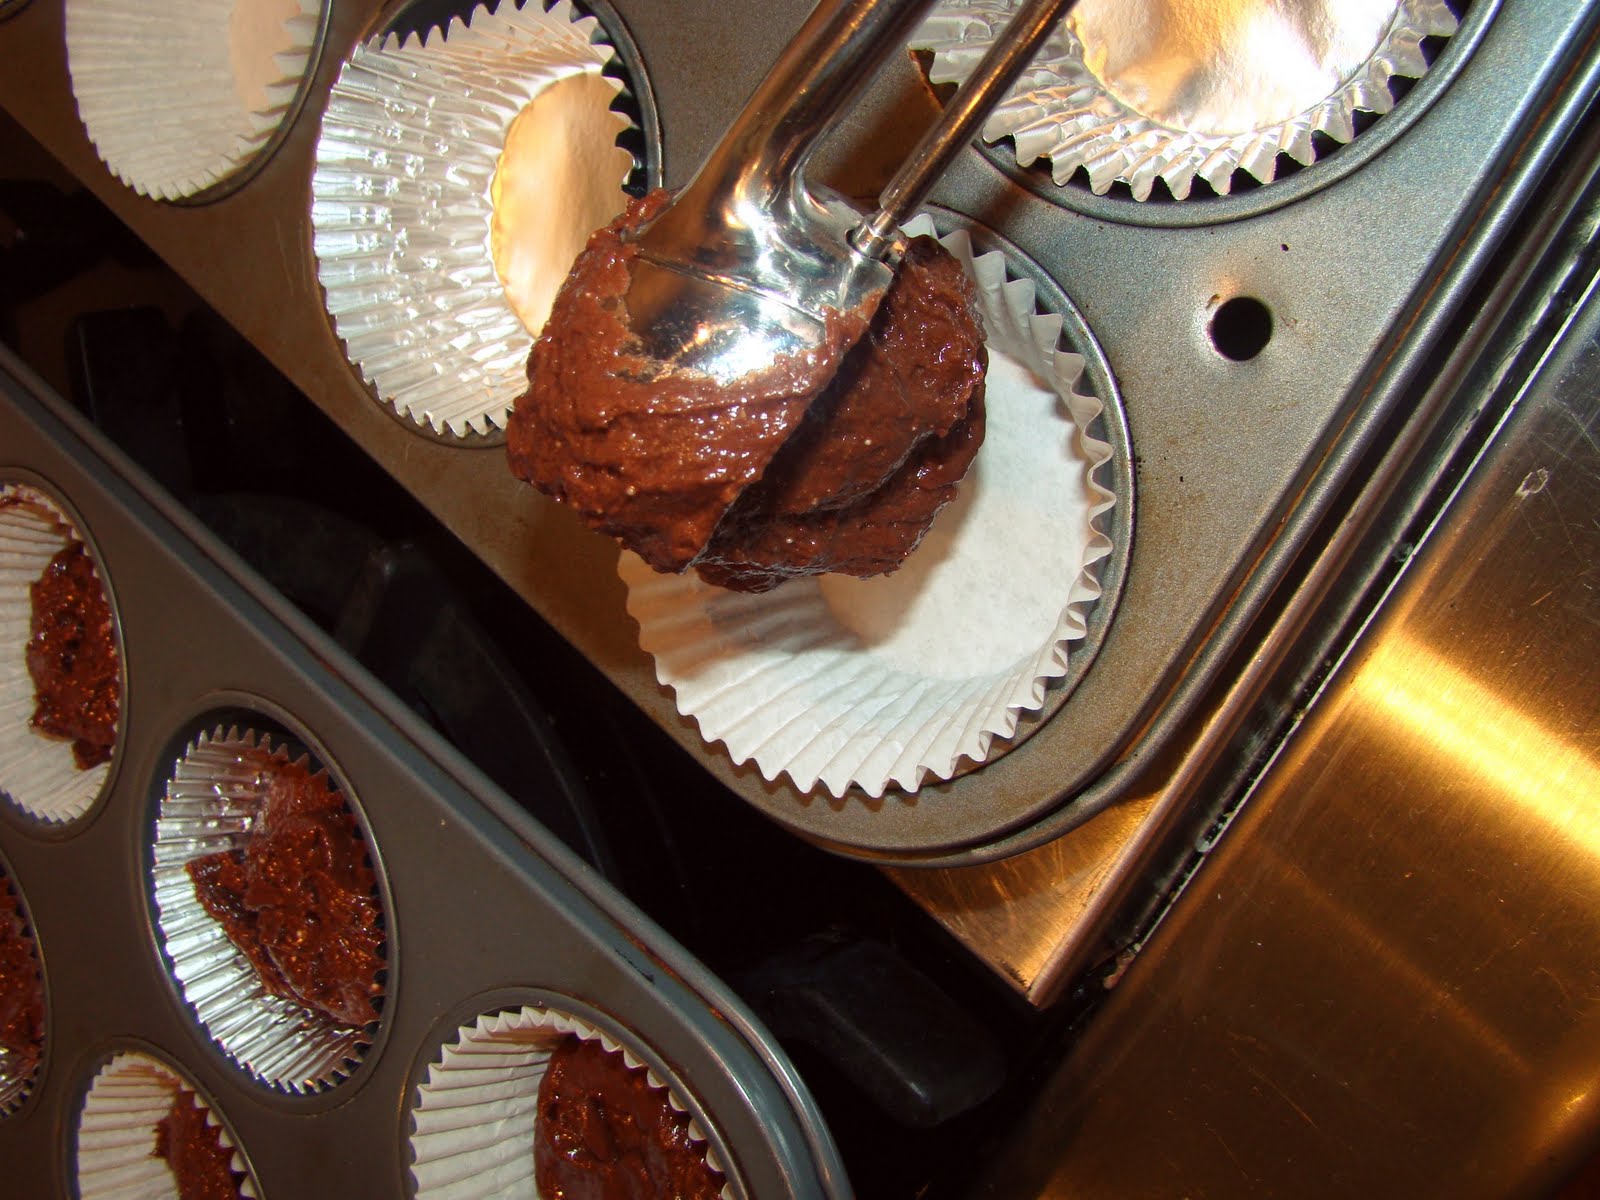
Line two muffin tins with cupcake liners. You can get about 18 cupcakes out of the batter, but I only made 16. Fill them about 3/4 of the way full and bake at 350 degrees for about 17-19 minutes. 


While those puppies are baking, time for some icing! It's a pretty simple buttercream, but of course with a Moscato twist. 

Start with the softened butter. Typically, I'd suggest using an electric mixer to whip the butter until fluffy. However- like I said earlier...I was baking in my little tiny kitchen with no mixer. But hey, that's no reason to not make icing. It just took a little extra elbow grease, that's all. Once the butter is softened and mixed until there are no more clumps, add the wine and vanilla. 


Next, add the powdered sugar little by little until it's the perfect consistency. 


After taking the cupcakes out, let them cool completely before icing them. 

Waiting...waiting...waiting...okay, so now they're cooled. Finally. 

I decorated mine with some silver sprinkles and a sliced strawberry, but of course that is completely up to your imagination. You do you. 


Isn't that just the most beautiful little cupcake you've ever seen? True beauty...you know- on the outside, but more importantly on the inside, where it counts. 

So here's what you're waiting for:

Moscato Cupcakes
  • 2 1/2 cups flour
  • 1 1/4 cup sugar
  • 3/4 tsp. salt
  • 1 tsp. baking soda
  • 1 cup vegetable oil
  • 1/3 cup Moscato wine
  • 3/4 cup buttermilk
  • 2 large eggs
  • 1 tsp. white vinegar
In large mixing bowl, combine all dry ingredients. Do the same in a separate bowl with the wet ingredients. Slowly add the wet ingredients to the dry until just mixed. 

Scoop into lined muffin tin and fill each 3/4 of the way full. Bake at 350 degrees for 17-19 minutes. Let cool completely. 

Moscato Wine Icing
  • 1 cup (2 sticks) softened butter 
  • 3 Tbsp. Moscato wine
  • 1 tsp. vanilla extract
  • 2 cups powdered sugar
Whip butter with an electric mixer (or wooden spoon depending on your determination) until light and fluffy. Add wine and vanilla. Slowly incorporate powdered sugar. 

When cupcakes are cool, spread icing and decorate to your liking and EAT!


So there ya have it....first bacon beer bread, now Moscato cupcakes. I think alcohol is way cooler outside of the bar. Most of the time. Anyway- I digress. I hope you enjoy the heck outta these! 


Tuesday, April 17, 2012

Bacon Beer Bread

A few months ago while baking beer bread, I got this crazy idea. Bacon. You know the stuff- that salty and smoky and chewy deliciousness that everyone loves so much. Bacon inside of beer bread. So here you have it.


Start with about a half of a pound of bacon. You can absolutely fry strips of bacon and then cut them up for the bread, but I like cutting it up before hand to fry little pieces.  That way each piece gets slightly crispy. Mmm, good.


Drain the bacon and put in a separate bowl for now. Now that the bacon is taken care of, time for some beer bread. 


Start with 3 cups of self-rising flour, and add one half cup of regular white sugar. Because this is a quick dough recipe and doesn't require proofing or rising, make sure that you use self-rising flour. 


Now for the beer. For this batch of bread, I used Budweiser, but I have also used Newcastle and Michelob Ultra. There obviously isn't a specific type of beer to use, but here are some basic rules of thumb:
  • Don't use a light beer. Stop living in denial, the commercials are right- light beer equals light flavor. It's bad enough to drink light flavor, but if you try to cook with it, you'll get no flavor. 
  • Lighter colored beer is acceptable (see above picture), however, the darker the beer, the fuller the flavor. 
  • Stick to the quality factor. Yeah, I get it, the beer in question will only be used for bread, so what's the point in spending money on a good beer? Just do it. You'll have at least 5 beers to drink at your leisure.
  • This brings me to my last rule of thumb: taste. If you don't drink beer (like myself) just follow the steps above when selecting your brew. However, if you are a beer connoisseur, go with what you know (as long as it isn't a light beer) use one that is high up on your favorites list. Because remember, you'll still have 5 beers to drink when it's all said and done.


Pour the beer in slowly and use your hands to mix the dough. It won't seem like you'll have enough beer until the very end, but it will work out perfectly. I recommend having the bacon close and the bread pan sprayed ahead of time because your hands will be covered in a sticky mess. 


I bet you know what's next...


I won't judge you if you need a moment of silence. When you're done, mix that deliciousness in. 


Dump the dough into a well sprayed or buttered bread pan of standard size, even though I'm not real sure what the exact dimensions of "standard" are. 


Bake the bread at 375 degrees for 50 minutes. After the bread is golden and delicious, either rub a stick of butter over it, or brush melted butter on top. Do it while it's still hot so that it forms this epically wonderful crust. The goal is to make the butter sizzle when it touches the sides of the pan. That is success.

Resist the temptation and let the bread cool completely before slicing. 


Bacon Beer Bread
  • 3 Cups Self-Rising Flour
  • 1/2 Cup Sugar
  • 1/2 pound bacon, fried and chopped
  • 12 oz. beer
  • Butter
Preheat your oven to 375 degrees. Liberally butter or spray bread pan. 

Fry bacon and cut up, or cut up and fry. After the bacon is cooked, drain and set aside. Mix flour and sugar in a bowl. Slowly add beer and mix with your hands. Add and mix in bacon. Pour into bread pan and bake for 50 minutes. Coat crust in melted butter and allow to cool completely. 

There ya have it, folks. Also- I dare you to make a cheddar grilled cheese with this bread. You're welcome. 


Tuesday, April 10, 2012

Reese's Chocolate Cupcakes with Peanut Butter Buttercream Icing


Reese's Chocolate Cupcakes with Peanut Butter Buttercream Frosting. 

You read that right.

Let me just say this....I hate using cake mixes. I really, really hate it. I feel like a loser. I feel pathetic. I feel like I can't do anything good when I use box mixes. Scratch is where it's at. There's something special about sifting flour, separating eggs, and using baking powder.  So when I saw this recipe, I immediately had a love/hate relationship with it. The pictures looked so good...but there was a box in the recipe. I could only imagine peanut butter buttercream....but there was a box in the recipe. Luckily, I forgot about the box and focused on the product. Smart decision, I must say. Now let's get to it.


For the cake....
-1 pkg. Duncan Hines Devil's Food Cake Mix
-1 pkg. Instant Chocolate Pudding
-1 cup sour cream
-1 cup vegetable oil
-4 eggs
-2 teaspoons vanilla extract
-Miniature Reese's Cups


Step 1: One step cake. 
Mix it alllll together. Not everything in the picture. The picture also includes the icing ingredients. Just mix together the above listed ingredients (except the Reese's) at one time and the cake batter is done. Literally that simple. 


Step 2: Cupcake time!
Line two muffin pans with cupcake liners and measure about 3 Tablespoons of batter into each.  Press miniature Reese cup into the center of each cupcake, but do not press in all the way. Bake at 350 degrees for about 20 minutes or until an inserted toothpick will come out clean. Remember when doing the toothpick trick to not poke directly into the center since the Reese cup is there. The center of the cupcake will look fallen even if completely baked due to the tiny chocolate morsel of amazing-ness hidden inside. 


Now for the icing...
-1 cup peanut butter
-1 1/2 cup unsalted butter, softened
-2 Tablespoons vanilla extract
-2 lbs. powdered sugar
-3 or 4 Tablespoons low-fat milk, depending on desired thickness

Step 1: Icing base
Cream together the butter and peanut butter until smooth. 


Step 2: Finish it up!
Mix in vanilla and alternate powdered sugar and milk until you reach your desired thickness. So good. So good. 


Step 3: Decorate and make 'em pretty!
Fairly self-descriptive. Another great idea to decorate these with is to add the newest Reese's, the really tiny, adorable mini Reese's on top of the piped icing. I was going to do that, but couldn't find them in the store. I'm sure they were there, but I didn't think about getting them until I was in the checkout line. Leaving my sister there, the mad dash to try to find them was highly unsuccessful. Oh well, they were delicious anyway. 


But seriously....who could turn this down? Okay, Sara would have to turn it down, but only because she's allergic to peanuts. My prayers are with her. 


Peanut Butter No Bakes

Peanut Butter No Bakes.

I love peanut butter. And chocolate. And oatmeal cookies aren't half bad either. Why not combine them all?

-1/2 cup butter
-4 Tablespoons cocoa powder
- 2 cups sugar
-1/2 cup milk
-1 cup peanut butter
-1 Tablespoon vanilla
-3 cups oats
-Wax paper

Pretty simple ingredients. 


Step 1: Melt the goodies! 
Combine the butter, sugar, cocoa, and milk. 

Mix this slowly and make sure the butter does not burn at the bottom of the pan.


Step 2: Bring to a boil.
After all of the first ingredients are combined, bring them to a boil. 

Let boil for 1 minute, then remove from heat.


Step 3: Mix in the rest! 
Now mix in the peanut butter, vanilla, and oats. 

Peanut butter, oats, and vanilla.


Return the pan to low heat to melt peanut butter while combining. 


Step 4: Make the cookies! 
Line a pan with wax paper and drop teaspoon size amounts of mix onto the pan. Spread out to make larger cookies if desired. Refrigerate cookies to cool and harden.

Line cookie sheet with wax paper. This will make for easy cleanup and cookie removal!

I used a regular spoon to drop the cookies onto the pan.

I spread the cookies out a bit to make them bigger. Refrigerate for at least an hour to harden.


Step 5: Eat up! 
Another 5 step recipe! Pretty simple! And delicious! :)

Simple chocolatey-peanut buttery-goodness. Can't go wrong. :)


Happy eating! Share the love!